Coasters
I believe everyone should have coasters all over their home.
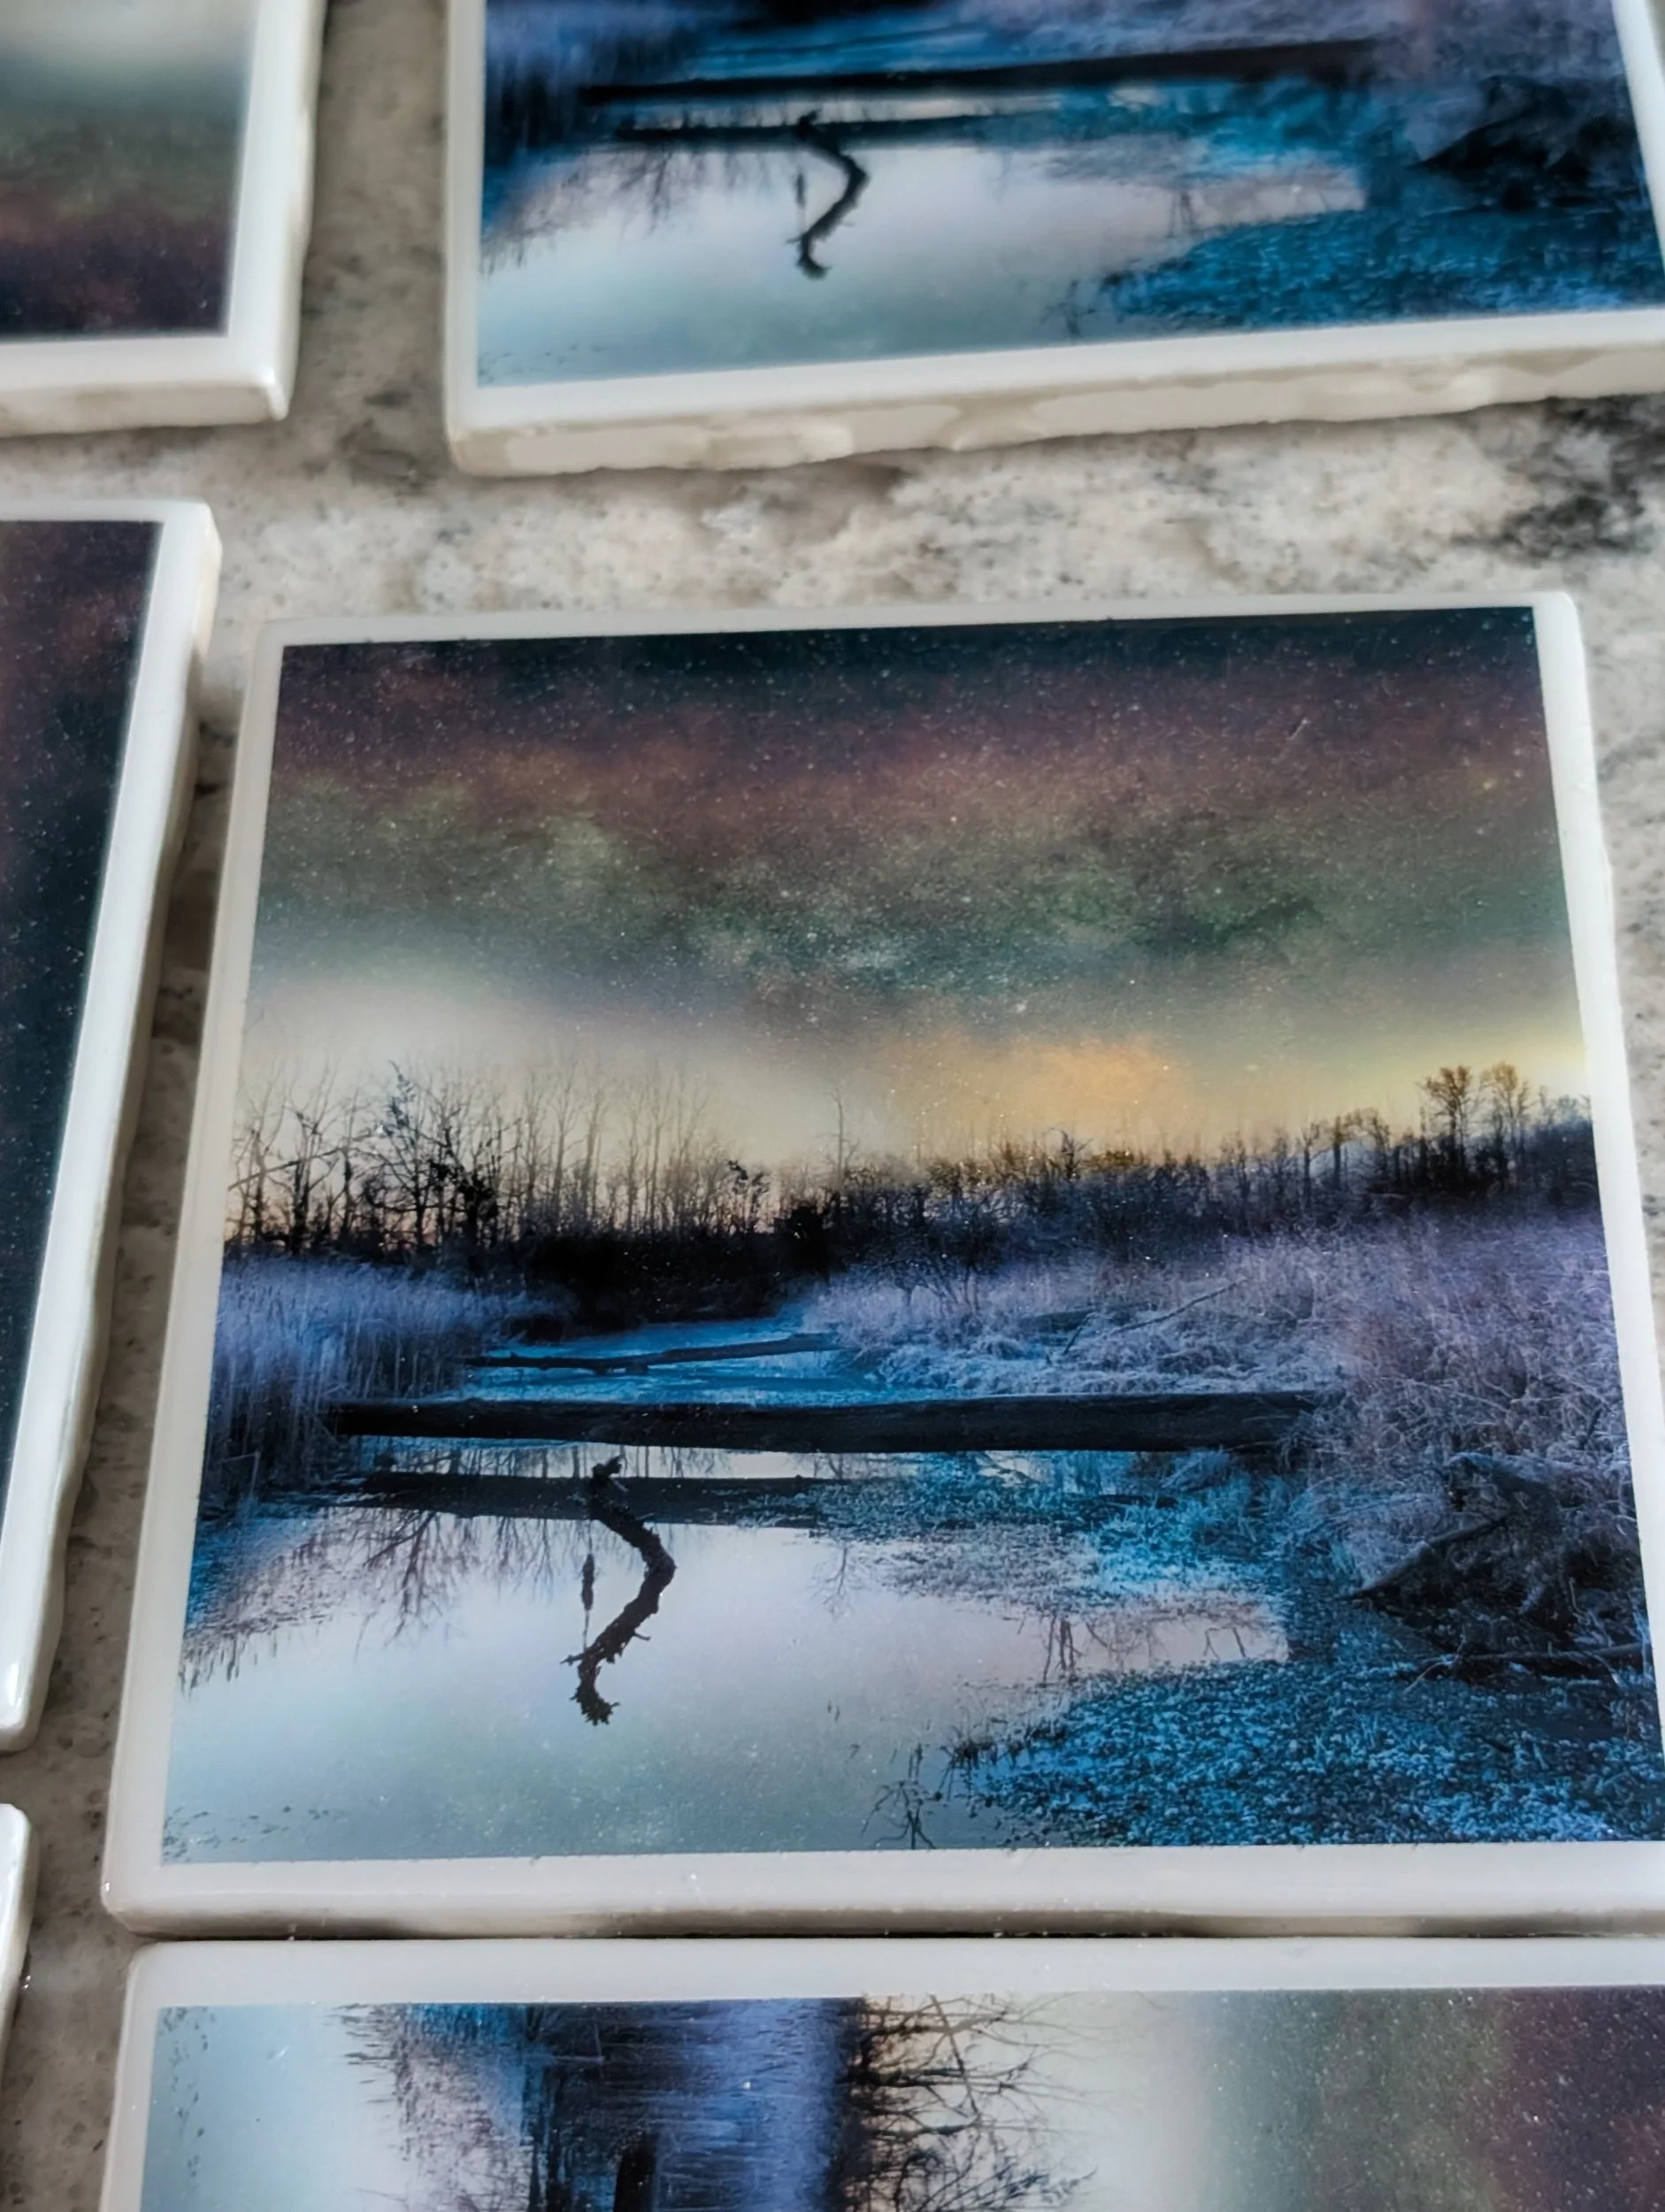
4×4 ceramic tile. Resin on top protects the art, and cork backing protects the tabletop or surface underneath.
I started making coasters when I learned to crochet.
Tip of the day, make coasters when learning a new crochet stitch. It is a simple, small, fast project to get the pattern down. If you are into gauge swatches, they could also make great coasters or hot pads for your kitchen.
Now, back to the topic at hand- MY TILE PHOTO COASTERS.
Coasters are always useful, and you can never have too many. I give them as gifts, I have them anywhere someone may sit down with a drink in my house.
On the coffee table, side tables, and sideboard near the couch.
On the little tables near the reading chairs.
On the dining room table for when the placemats are not necessary like when playing a game.
On the dresser and nightstands in the bedrooms.
On the desk in the office.
On the hallway table, where the chair is that no one ever uses.
A few stacked on the dining room serving board and the kitchen island for when we have guests visit.
You get the idea. I really like coasters.
So it only made sense to make coasters using my art.
This meant changing my coaster making medium from yarn to a more durable material to display my art. Ceramic tile coasters seemed the best, most easily accessible option. I had tried painting tiles for coasters years before, and discovered adhesive cork backing made right to size- materials chosen.
Learning a new skill takes practice and there were kinks to work out.
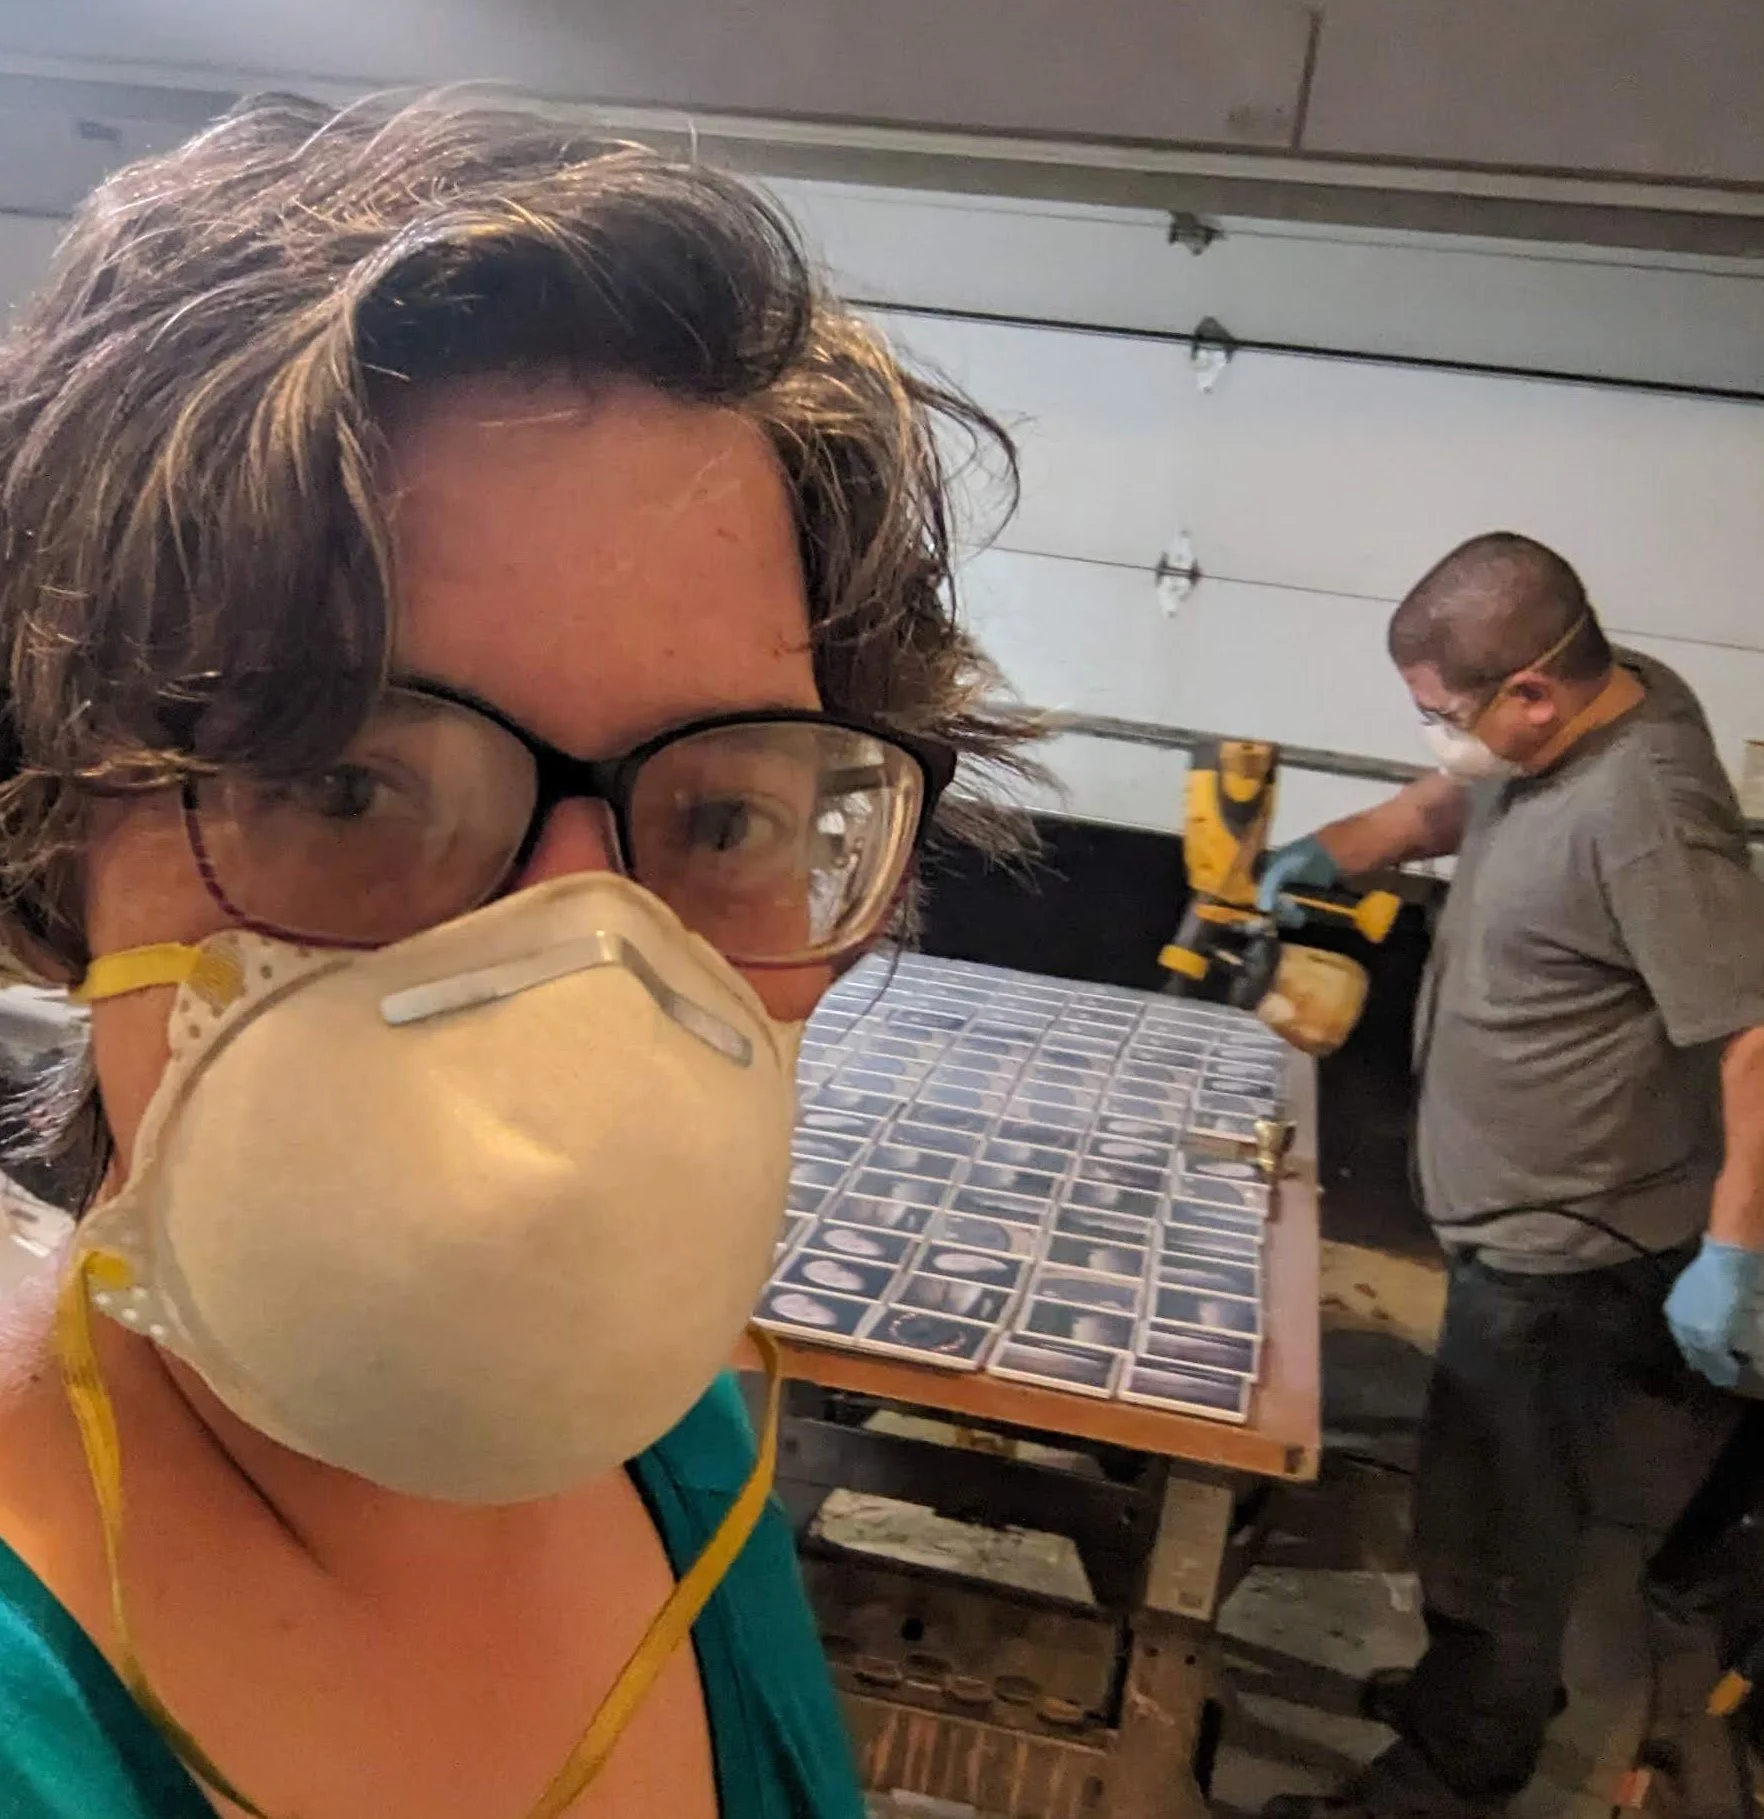
Like all things that require real tools, I recruited the help of my husband by asking very nicely.
Figuring out resin being the best top sealer, and that stickers work best for the art was a process of trial and error, and well worth the effort.
The 1st coasters we protected with polyurethane.
-That yellowed over time.
The 2nd run of coasters we protected with clear top coat spray paint because it’s not supposed to yellow.
-That didn’t cure well.
The 3rd run of coasters we protected with polycrylic because it’s supposed to be similar to polyurethane, but not yellow.
-That also didn’t cure properly.
The 4th run was the charm, as we met another artist who used resin to seal coasters.
-Thank goodness, mission accomplished!


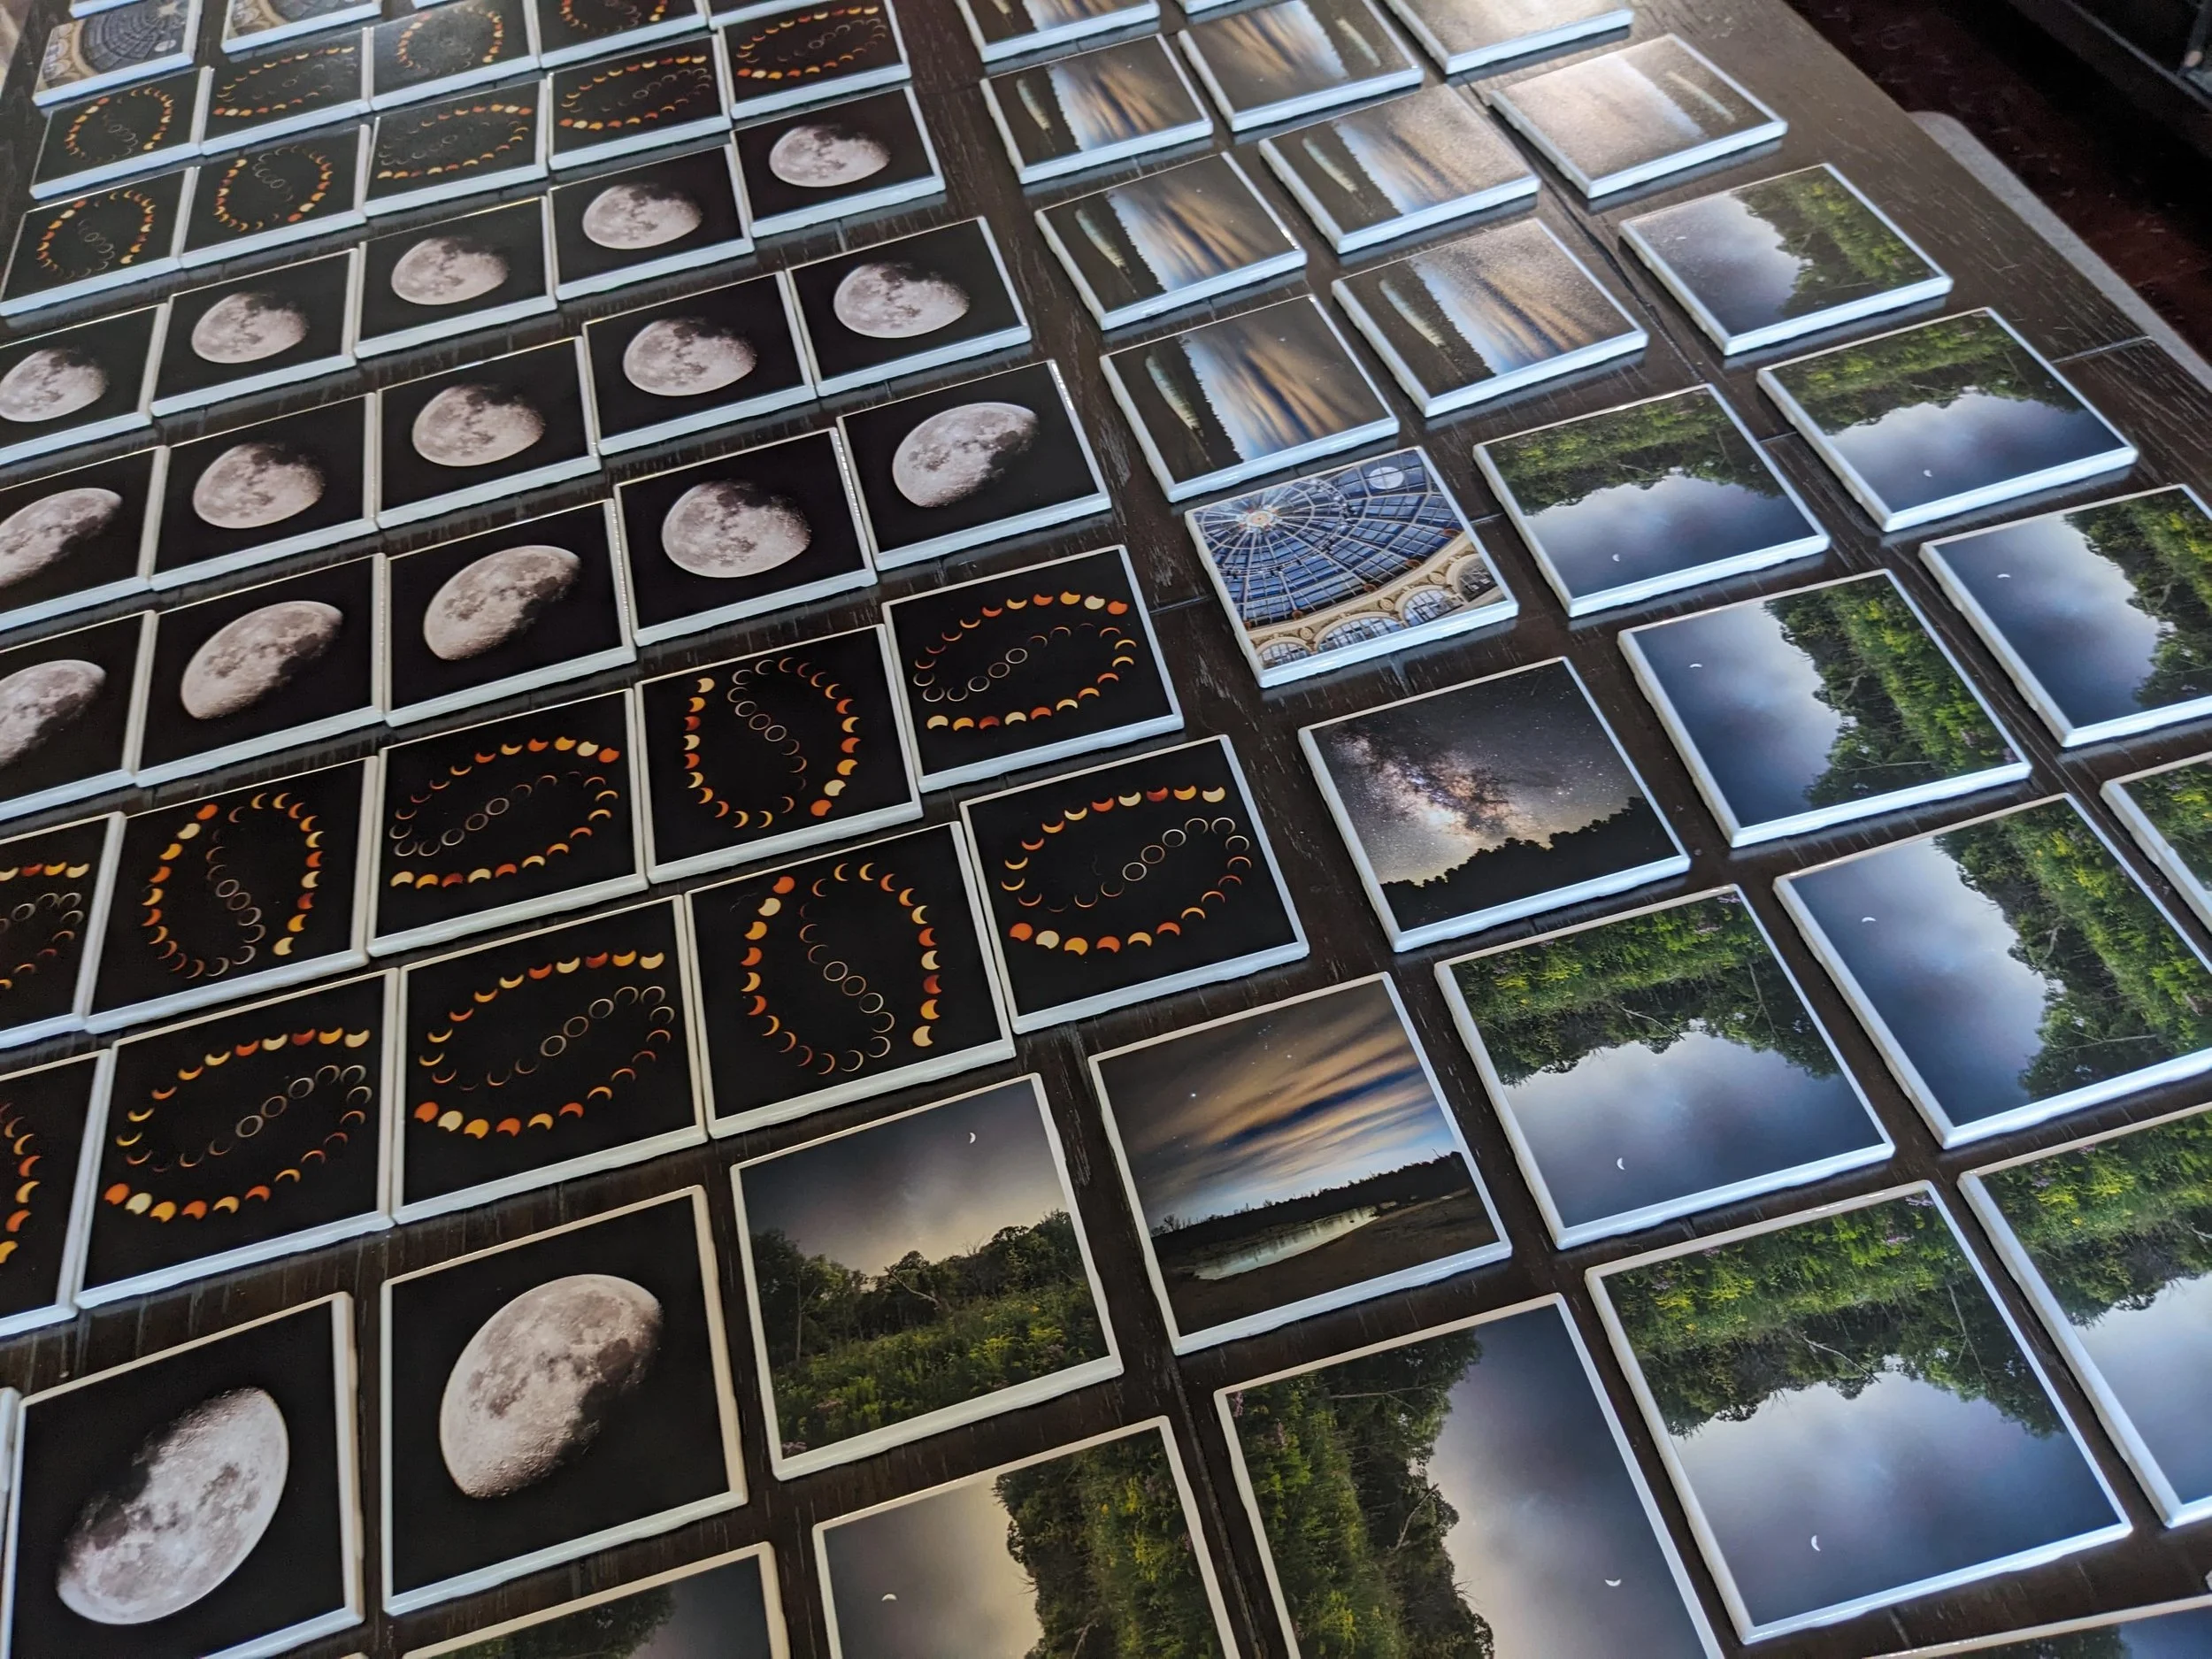
After learning about resin from that fellow artist, I taught myself how to use it to create my solar eclipse clocks.


And I have used it to make coasters beautiful and durable ever since! I think resin is one of those things that make you wonder, how else can I use this?
A look at my coaster making process from beginning to end.
Sometimes products change over time. My trusty plain white tile coasters came with printing on the edge. I ignored it for as long as I could- until I got the images on the first batch. Then I had to come up with a solution. Paint to the rescue.
I always try to have coasters ready to sell at vendor events I attend. They are a great little way to add art and fun to your home.
They are easy to clean by simply wiping down with a dishcloth dampened with soapy water.
They stack easily and don’t damage surfaces.